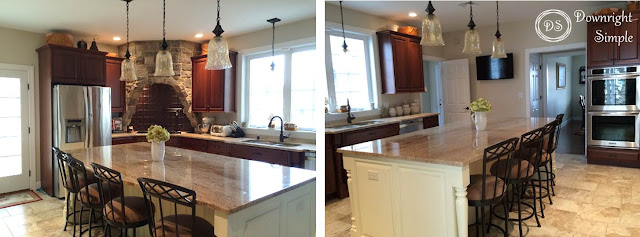
Choosing a kitchen backsplash can be so easy for some. For me, it was exhausting and still is. We incorporated a beautiful stone range hood as a focal point. But, choosing a backsplash to go with it and not take away from the stone was very hard. I bought numerous samples of subway tiles, glued them to small plywood boards and placed them under the cabinets and around the stone before going all out and installing tile. I couldn't find anything that I liked. It was too busy with the stone and the granite.
I then began scouring the web for alternatives to the traditional tile backsplash. I found some that I absolutely loved that used ceiling tin. I began doing searches on ceiling tin when I came across Fasade Decorative Thermoplastic Backsplash Panels. To my surprise, they were sold at Lowes. And not only were they sold there, they were in stock in the Smoked Pewter color at a Lowes about 30 minutes from where I live. They retail for $19.95 each. I went online, began my online order and they were on clearance for $1.44 and had 30 in stock. For a whopping $43 I bought all 30 of them. I also bought the matching trim pieces at under $1.35 each.
Materials: Fasade Thermoplastic Panels (18.5-in x 24.5-in), 18" Inside Corner Trim, 18" Edge J-Trim, Loctite Premium Construction Adhesive, tape measure, pencil and scissors.
I watched a you tube video on how to install the panels and trim and installed the panels in an afternoon. I only installed the panels under the stone range hood. Eventually, I'll add subway tile under the rest of the cabinets. But this is now my favorite focal point in the kitchen.
The panels went up extremely easy. I followed the manufacturer's instructions and was careful to clean up any extra adhesive immediately. I ended up using 9 panels in total and two 10 oz tubes of the adhesive. I installed the Edge Trim pieces on the sides that will be exposed to drywall/tile and used the corner trim pieces in the corners.
We have a pot filler above the stove, so I intentionally created a seam around the pipe that comes out of the wall in order to easily install around it. Then I added the rest of the first row of panels based on this starting point.


What an amazing job you did, it's just beautiful!
ReplyDelete